
Comic Process (Pt. 1 of 2)
This is the first of two articles detailing my current comic process, taking it up to inking.

This is the first of two articles detailing my current comic process, taking it up to inking.
I've changed a few stages of this process already since I took these screenshots, so I'll note where I'm actually doing things differently when I come to those parts of the process.
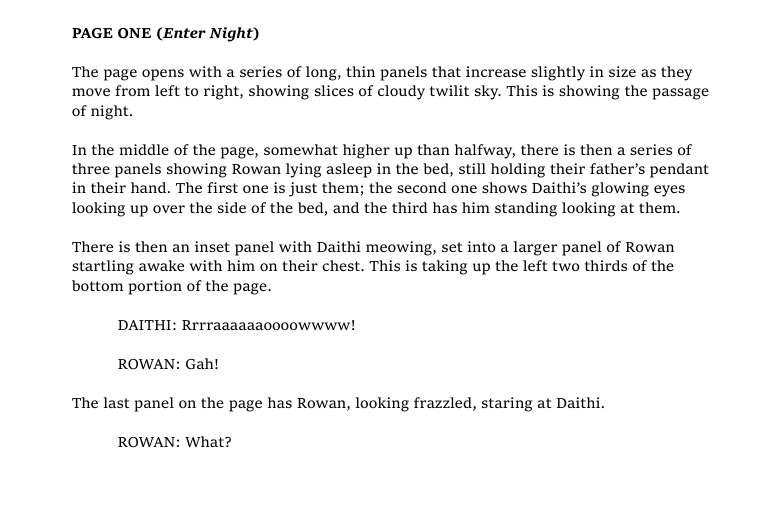
The script for this page, page one of chapter two, is typical of my current comic scripts (and since the entire script for Verdant Shadows is written, that's not going to be changing during the course of this comic). Rather than breaking everything up into specific panels like I did for Corner the Maze, I write a bit about how I want it to look, and stick the dialogue more or less in the right place. It causes less annoyance when it comes time for me to figure out the layout and I inevitably don't do exactly what I wrote.
I've cut out the thumbnailing stage of the process for Verdant Shadows, so I go straight to sketching on the page. Since I'm working digitally, that's risk-free.
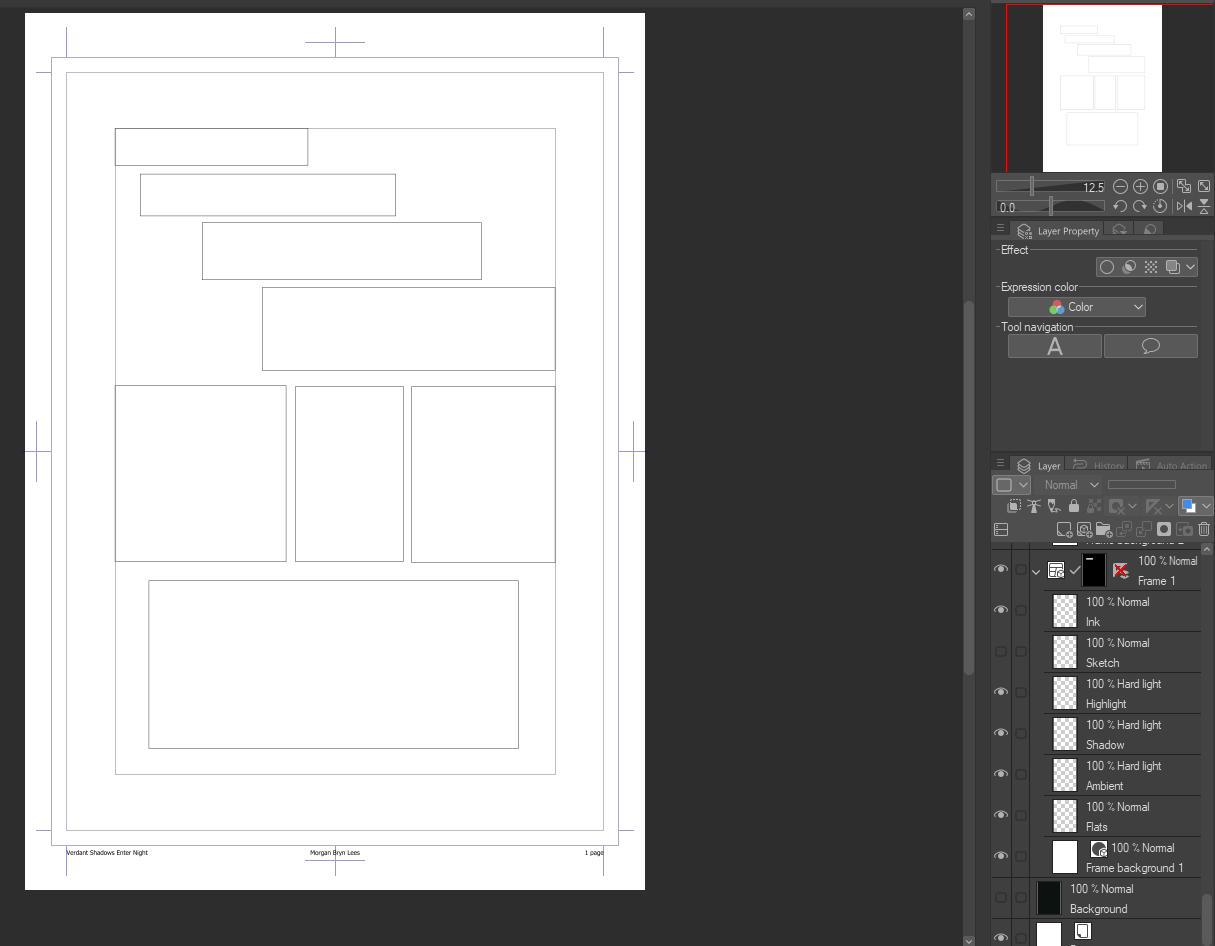
I start the sketch by getting the panels in. Back when I took this screenshot, I was still using Clip Studio Paint's 'frame' function to get this done, but I've since switched to sketching them in and then inking them by hand. I think it looks more cohesive with my general style, and it's easier to get odd-shaped panels that way, too.
You can also see in this screenshot that I have a whole array of layers within each Frame: Ink, Sketch, Highlight, Shadow, Ambient, and Flats. I still use this set of layers, but for the entire page now, which is faster than repeating each step entirely separately for every single panel. (I also sometimes have a Glow layer, but this particular panel didn't need that). I'll talk more about what the layers are for in the second part of this process explanation, when I'm talking about color; the ones that I'm working with during the pre-color phase are pretty self-explanatory (Sketch gets the sketch and then I hide it, Ink gets the inks).
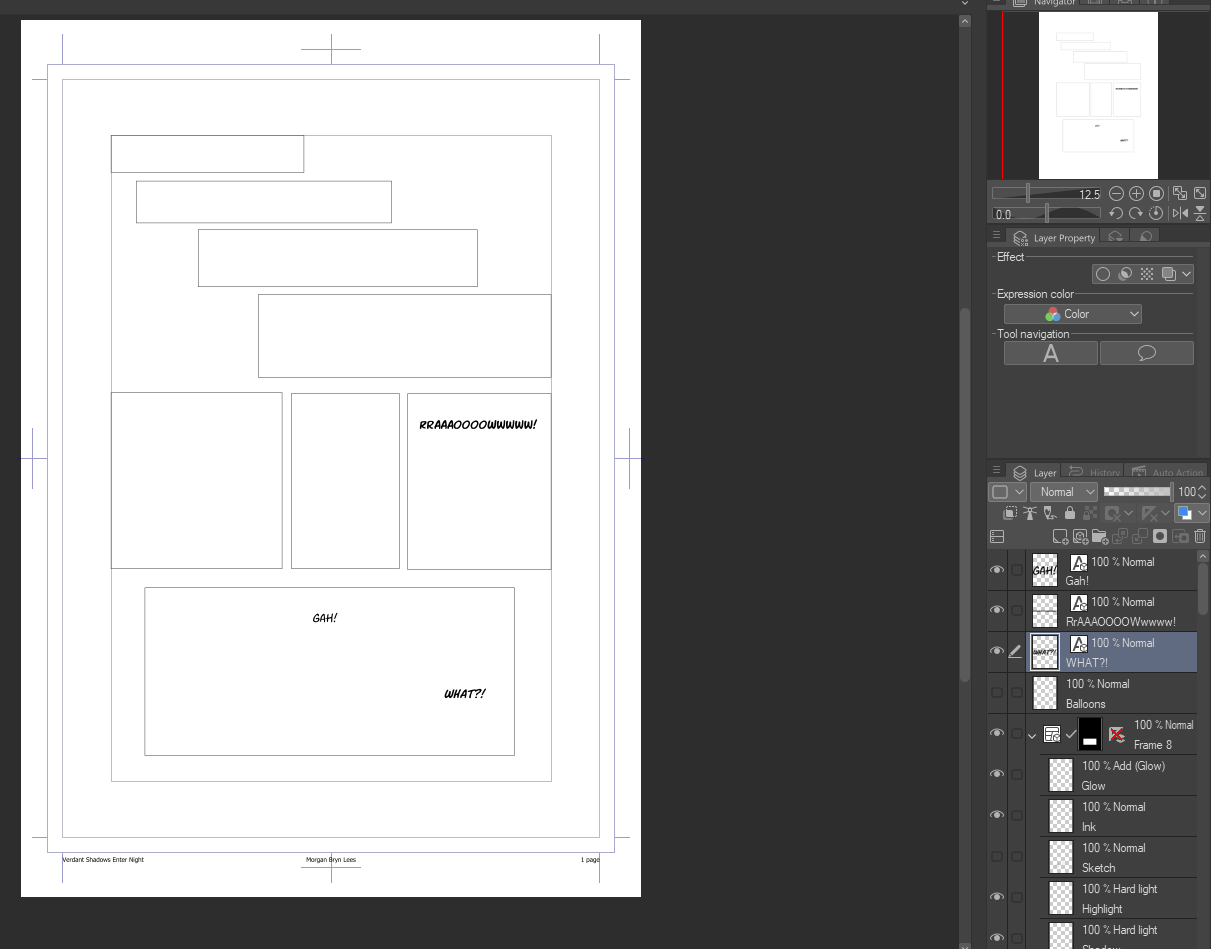
The next thing I do is get the letters out on the page. It's really easy to move them around right now, and I can figure out the flow before I commit to anything that way. Mainly here I'm trying to make sure that the letters go in the right area and also that the order in which they'll be read works.
I had a lot of trouble doing this for Corner the Maze, because I had a vague idea where the word balloons would go from my thumbnails, but when I got to actually lettering I was lettering digitally on top of scanned otherwise completed pages. Sometimes that created a mess. So far, I've avoided that with Verdant Shadows by starting with the lettering (which will dictate the speech bubble placement).
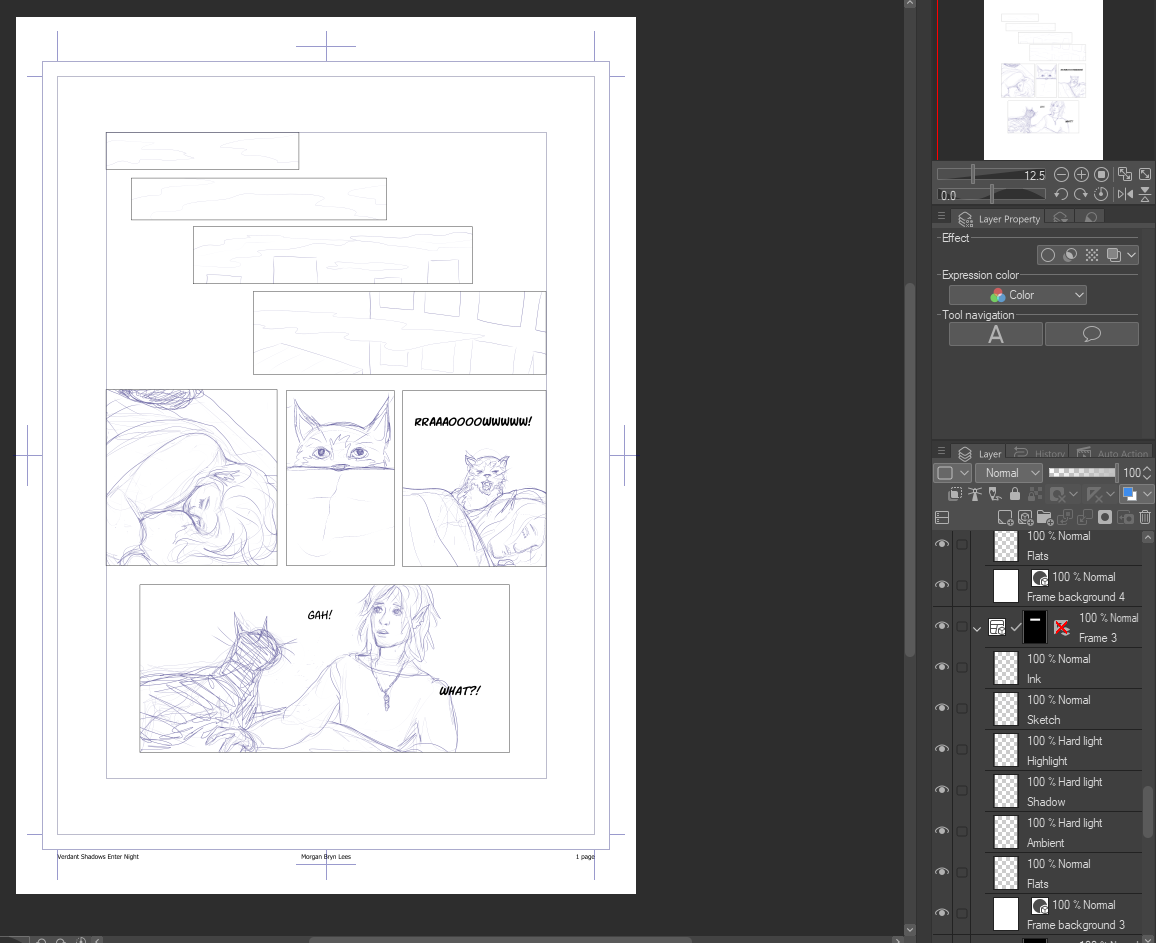
After I'm fairly happy with the lettering placement, I sketch everything in with the pencil tool using a fairly light color. I often find myself moving the letters around again during t his process, because after I've drawn something they often need just a little tweaking.
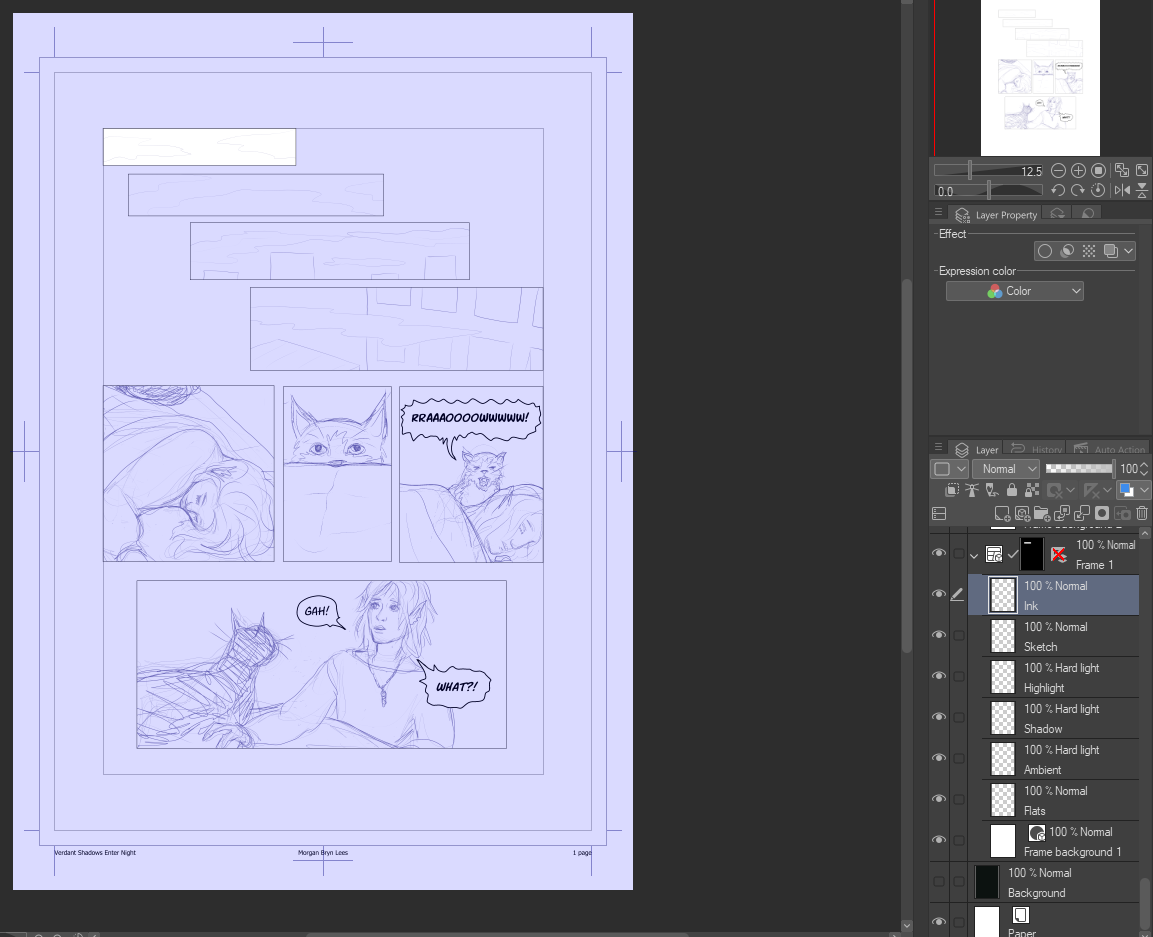
After tweaking the placement one last time, I get the word balloons inked in on a separate layer that also has the panel borders, and then I fill them in with white. That way, those are all done for the rest of the process, so I know what not to get in the way of.
My word balloons are a little rougher for Verdant Shadows than they were for Corner the Maze so far, because for Corner the Maze I used Photoshop's shape tools and warped them, which ended up with smooth bubbles, and then added on the pointer trails and any special effects afterwards. Here I'm just drawing them all in from the start (which is, admittedly, because I don't use Photoshop any more and although I like a lot of things about Clip Studio Paint the shape tool isn't one of them).
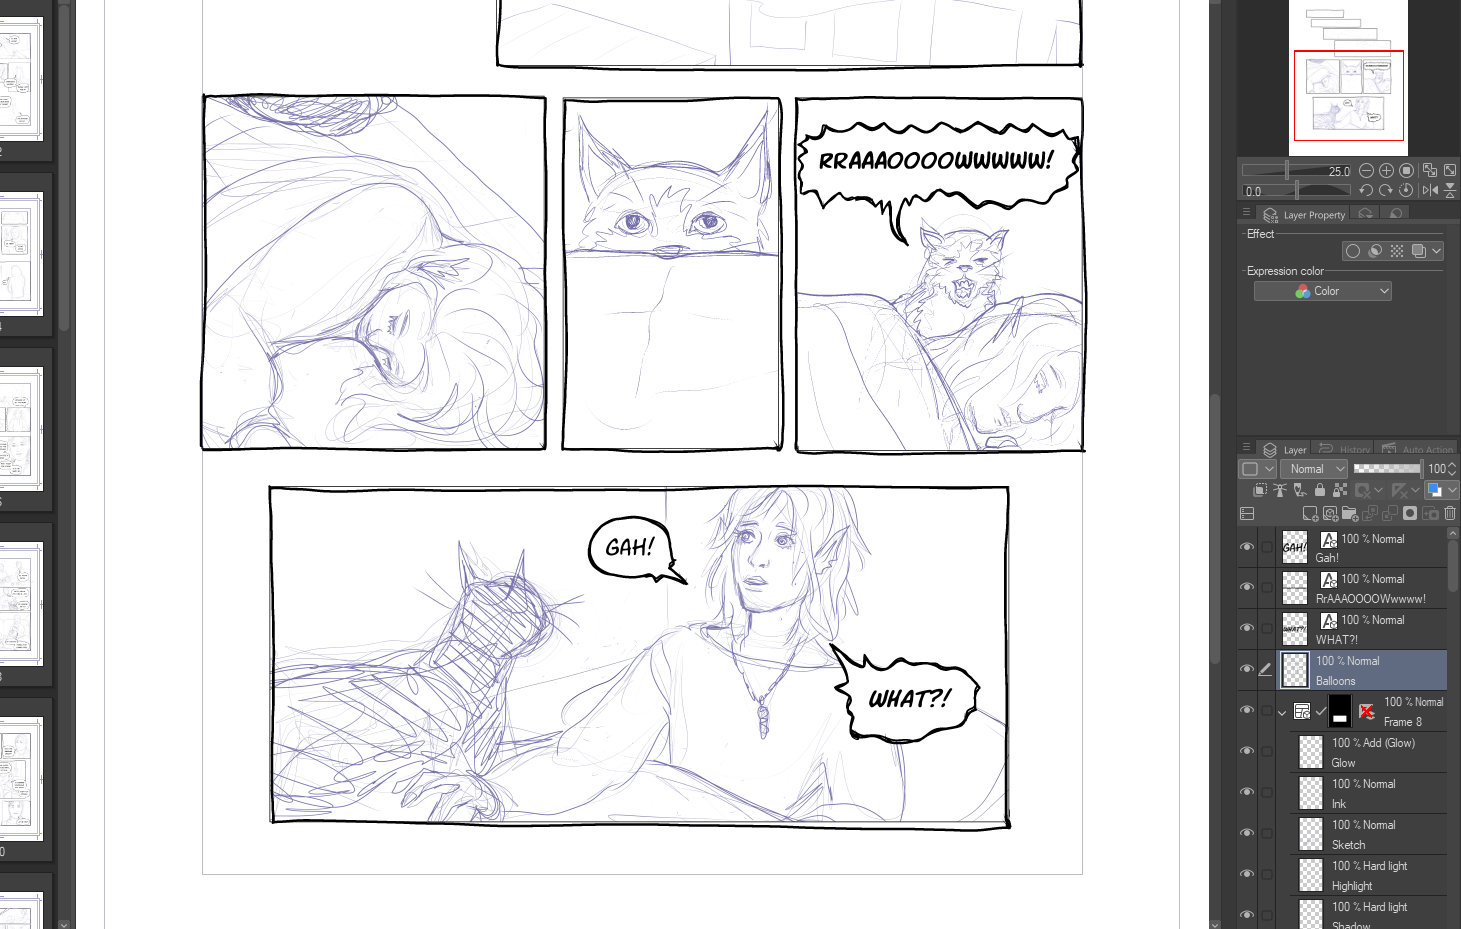
Here's how it looks once that's done, with the revised hand-drawn panels. (And also I realized that I'd left Rowan floating in space with the sketch, so I added in their bed and the walls of their room.)
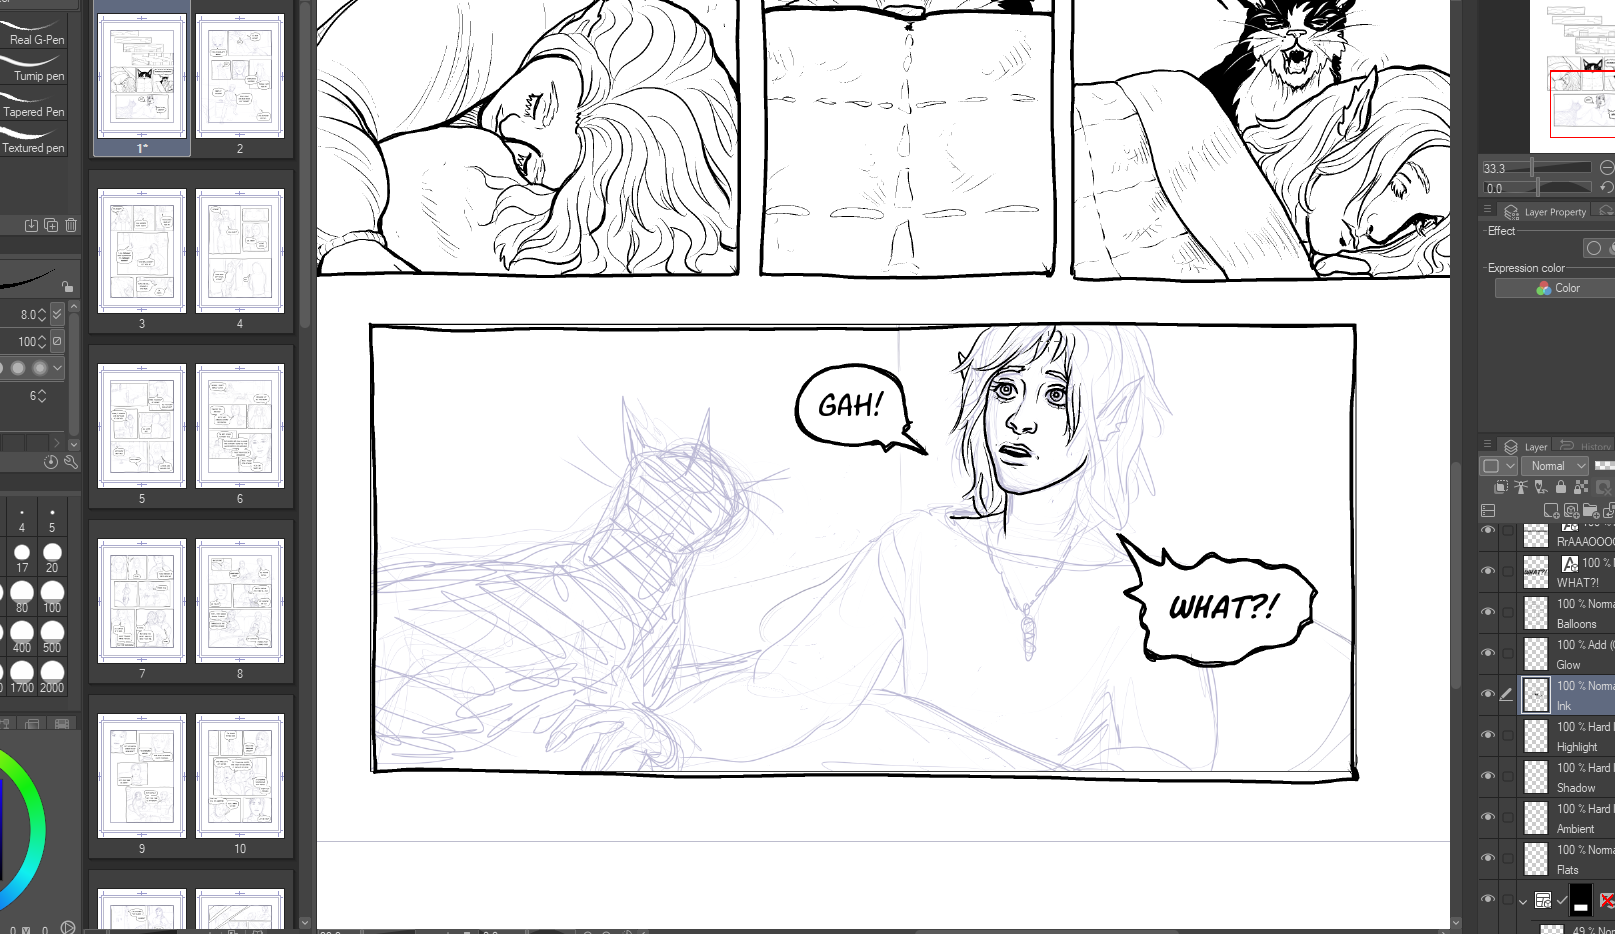
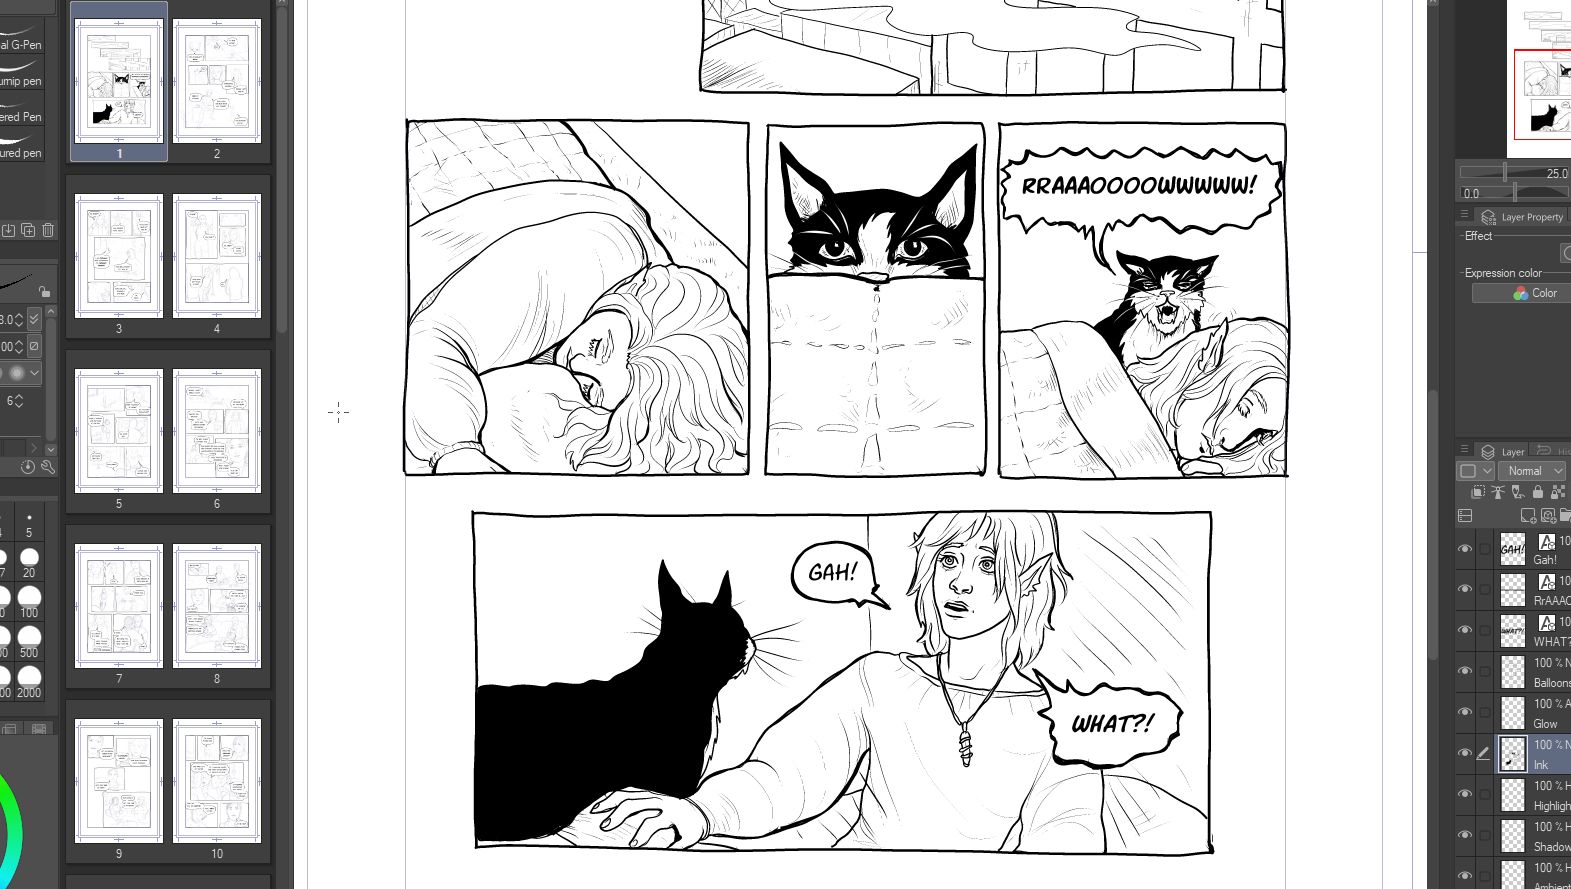
Partway through inking. Starting with this page I've been forcing myself to zoom in less than I used to, because I ended up with too many fiddly bits in the first chapter that didn't read so well at the resolution the pages actually go up on the web at. Obviously this wasn't a problem when I was working traditionally, but the lure of the zoom function is difficult to resist when I'm working digitally.
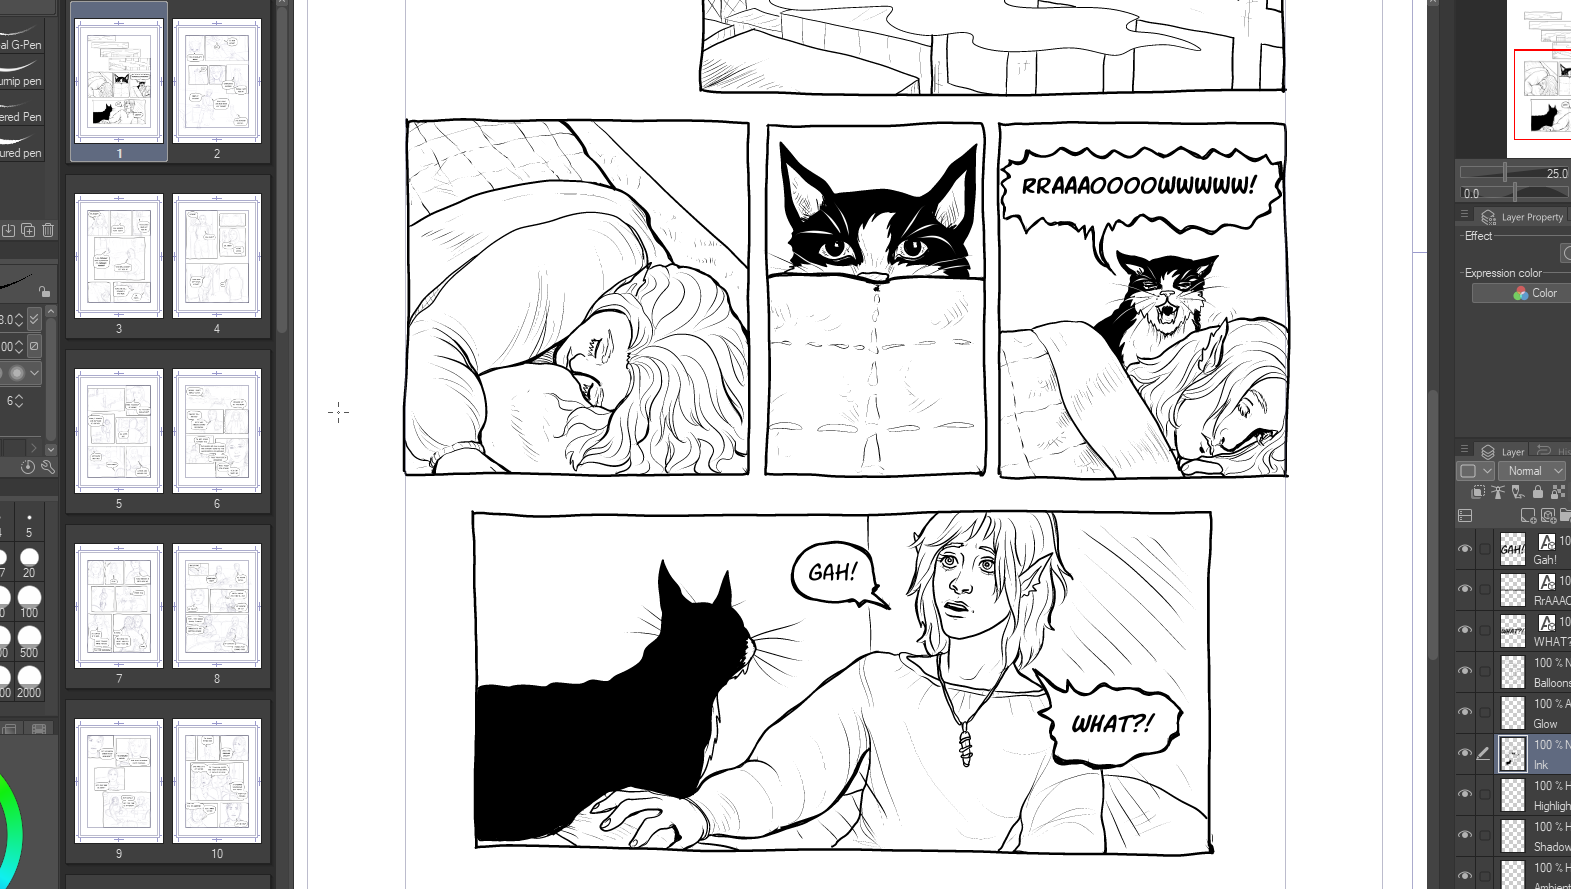
The finished inks for this page (well, minus the opening shots). The last panel changed slightly because I realized that Rowan's hhand shoving the covers back meant that the covers should be, y'know, actually shoved back.
And that's the first page ready for color! Next month I'll detail the color process.